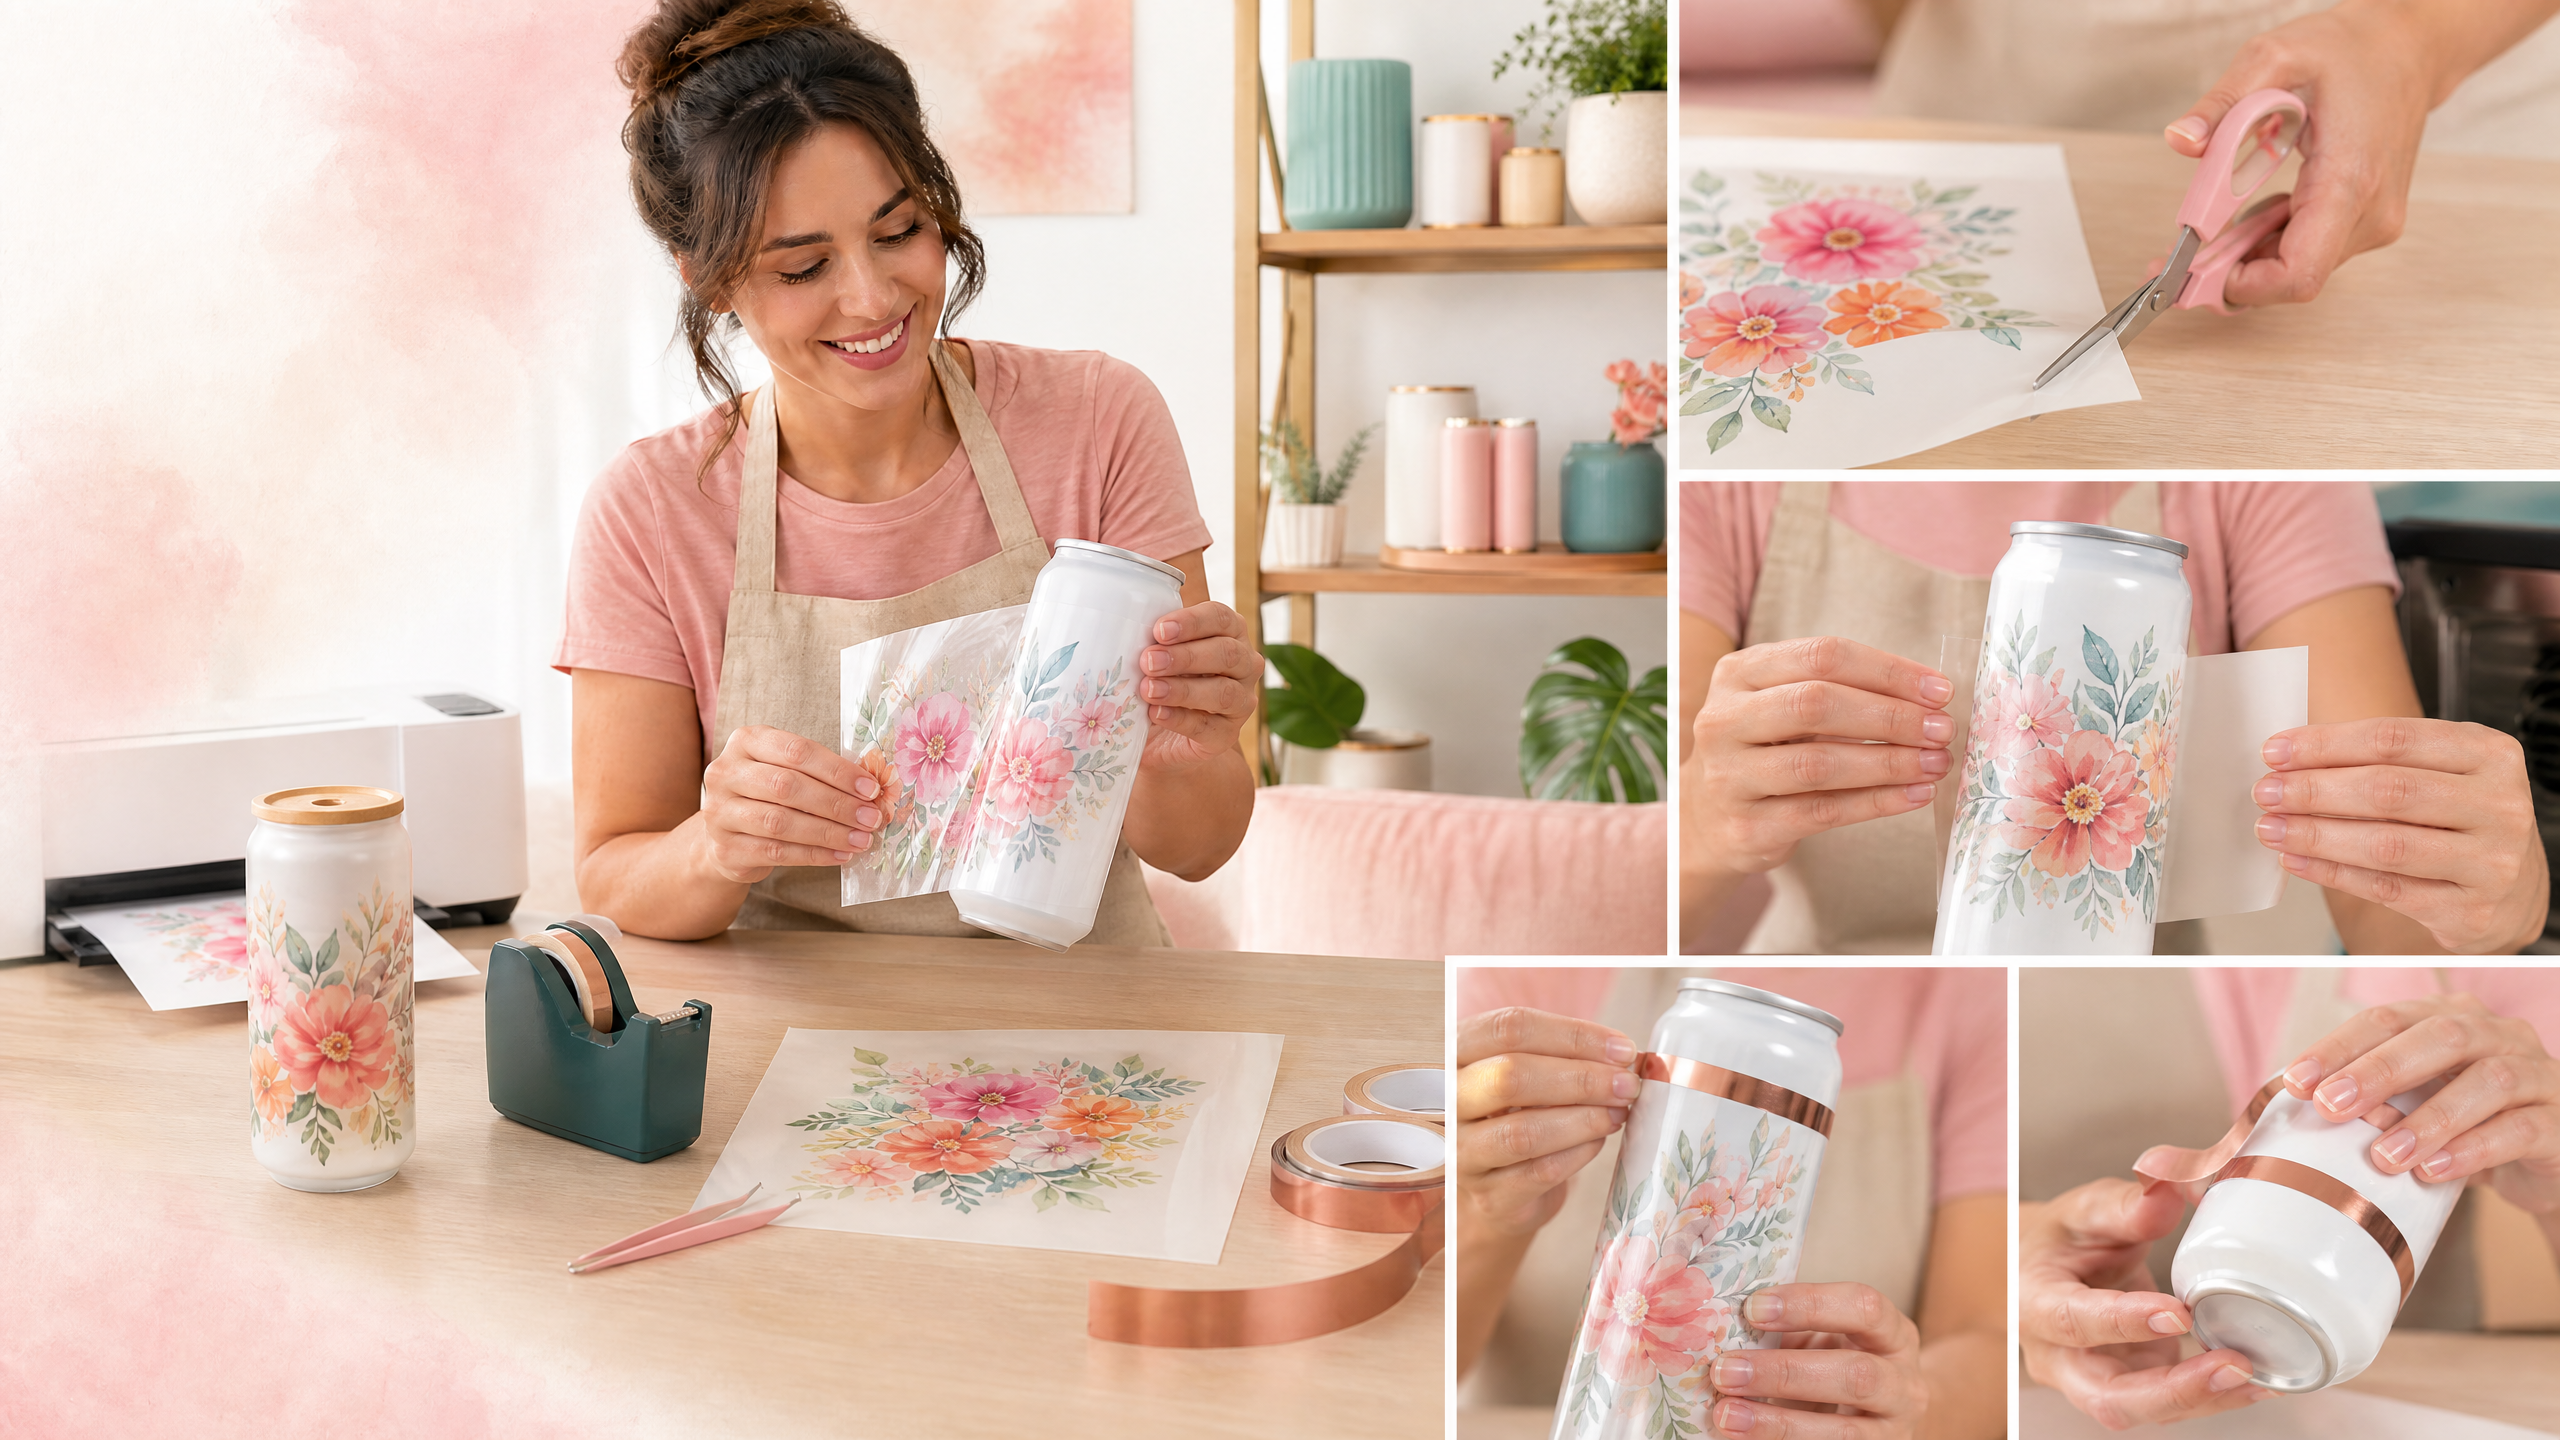
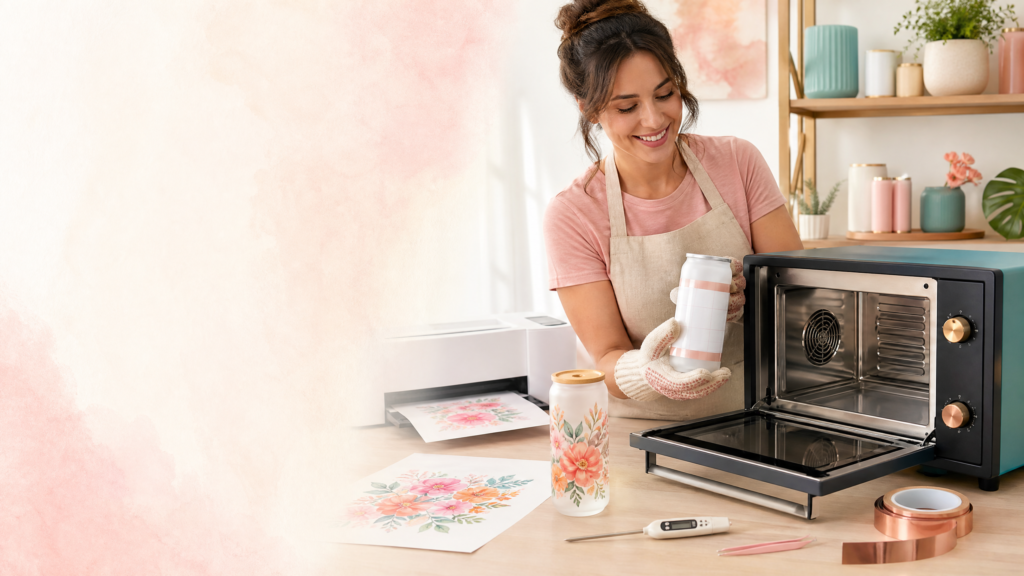
If you have ever admired a colorful glass beer can tumbler and wondered how the design got onto the surface, the answer may be simpler than you think. With the right sublimation-ready glass blank, a printed transfer, heat tape, and a dedicated convection sublimation oven, you can create attractive custom drinkware from a home craft studio.
The question most beginners ask is also the most important one: how long do you sublimate a glass soda can in a convection oven? A practical starting point for many compatible glass-can blanks is approximately 375°F for about 8 minutes, but that is not a universal recipe. Glass thickness, coating, oven calibration, transfer method, and the manufacturer’s instructions can all change the result.
This guide explains the process from start to finish. You will learn how to choose the right blank, prepare your artwork, wrap the glass can, calibrate your oven, avoid common mistakes, and decide when a print needs more or less time. The goal is not simply to memorize one number. It is to develop a repeatable process that produces bright, even results without damaging the blank or creating an unsafe workspace.
Important safety note: Use a dedicated sublimation oven for craft projects rather than an oven used to prepare food. Always follow the instructions supplied with your glass blank, oven, ink, and transfer materials. Wear heat-resistant gloves, work in a ventilated area, and allow hot glass to cool before handling it.
Quick Answer: How Long Does a Glass Soda Can Take?
For a compatible sublimation glass-can blank, begin by checking the blank manufacturer’s recommended settings. If the supplier does not provide a recipe, 375°F for approximately 8 minutes can be used as a cautious test starting point for many convection-oven workflows. Make one test blank before producing a full batch.
The correct setting is the one that gives you a fully transferred, evenly colored design without scorch marks, cloudy areas, ghosting, or distortion. A convection oven heats the entire item through circulating air, so its settings are not directly interchangeable with a tumbler press or flat heat press. HeatPressNation also notes that oven settings differ from heat-press settings and recommends testing an oven for temperature variation and hot spots before production .
| Starting point | What it means |
| Temperature | 375°F / approximately 191°C, unless the blank manufacturer specifies another setting |
| Time | About 8 minutes as a test starting point |
| Equipment | Dedicated convection sublimation oven, not a food oven |
| Pressure | Firm, even contact from the transfer method; follow the blank instructions |
| Testing | Use one sacrificial blank before making a customer order |
| Adjustment | Change one variable at a time, such as time or temperature, and record the result |
Why Glass Soda Cans Can Be Sublimated
Sublimation works when specially formulated dye turns into a gas under heat and bonds with a suitable polymer surface. Ordinary untreated glass is not automatically a sublimation substrate. The glass can must have a coating designed to accept sublimation ink, or the transfer may appear faint, uneven, or removable.
This is why buying a purpose-made sublimation glass beer can blank matters. A standard drinking glass from a general retailer may look similar, but its surface may not have the coating required for a permanent transfer. Before purchasing, confirm that the product is explicitly described as sublimation-ready and that its dimensions match your artwork template.
For a broader introduction to the science, equipment, and beginner workflow, see SublimationCo’s Sublimation for Beginners guide. You can also browse the SublimationCo homepage for tumbler wraps, mug designs, SVGs, and additional craft tutorials.
Supplies You Need Before You Begin
A successful glass-can project depends more on preparation than on having a large collection of tools. Gather everything before preheating the oven so you are not trying to find tape or gloves while the blank is hot.
Essential supplies
| Supply | Purpose |
| Sublimation-ready glass soda can | Provides the coated surface needed for dye transfer |
| Sublimation printer and ink | Produces the transfer image |
| Sublimation paper | Holds the printed design until it is heated |
| Heat-resistant tape | Keeps the transfer tight against the glass |
| Dedicated convection sublimation oven | Applies circulating heat to the wrapped blank |
| Heat-resistant gloves | Protects your hands when loading and unloading |
| Lint-free cloth | Removes dust and fingerprints before wrapping |
| Protective paper or foil | Helps keep the oven area clean, if recommended by the equipment maker |
| Timer and thermometer | Helps verify actual temperature and repeat the process |
A thermometer is especially useful because the temperature displayed on a countertop oven may not match the temperature at the rack. HeatPressNation recommends testing the oven with two thermometers placed in opposite diagonal corners to identify hot or cold areas . That extra step can explain why one side of a design looks stronger than the other.
Step 1: Choose the Correct Glass Can Blank
Start with the blank, not the artwork. Measure the printable area and check whether the supplier provides a template, oven setting, wrap requirement, and care instructions. Some glass cans have a smooth, bright coating; others may be frosted or textured. These differences affect color, contrast, and the way the transfer sits against the surface.
Inspect the blank for chips, scratches, coating defects, or dust. Do not use a damaged glass can for a customer order. Even a tiny chip can become more noticeable after heating, and a coating defect may look like a printing failure.
If you are creating a coordinated drinkware collection, you may also want to explore SublimationCo’s 20oz tumbler sublimation guide and its free tumbler wrap designs for ideas that can be adapted to compatible products.
Step 2: Prepare and Size Your Design
A glass soda can is curved, so artwork sizing deserves attention. Use the blank supplier’s template whenever one is available. If you design from scratch, measure the printable height and circumference, then leave a small margin near the top and bottom where the shape begins to taper.
Avoid placing essential text or faces too close to the edges. Curved surfaces can make lettering look compressed or cause small details to disappear. Bold patterns, florals, repeating icons, and high-contrast illustrations usually transfer more reliably than very thin lines or low-contrast pastel text.
Remember to mirror the design before printing if your workflow requires a mirrored sublimation transfer. Confirm the mirror setting in your design software or printer settings before using ink and paper. SublimationCo’s Epson sublimation printer settings guide can help you review the printer-side setup.
Step 3: Print the Transfer Correctly
Print on the coated side of your sublimation paper according to the paper manufacturer’s instructions. Let the transfer dry long enough to prevent smearing, especially when using a large area of dark or saturated color.
Before wrapping, compare the printed transfer with the original design on your screen. Check spelling, orientation, color balance, and the position of any personalization. Once the paper is taped to the glass and heated, correcting an error usually means sacrificing the blank.
Keep printed transfers away from moisture. Humidity can contribute to blurry edges, color changes, or uneven transfers. Store unused paper flat in a dry environment and handle the printed side as little as possible.
Step 4: Wrap the Glass Can Without Gaps
Cut the transfer so it fits the printable area without excessive overlap. Place the printed side against the coated surface and align the design carefully. Smooth the paper from the center outward to reduce wrinkles and trapped air.
Use heat tape to secure the long seam. Pay particular attention to the tapered top and bottom. The paper must remain firmly against the glass while the ink changes into gas. Any movement during heating can create a doubled or blurry image, commonly called ghosting.
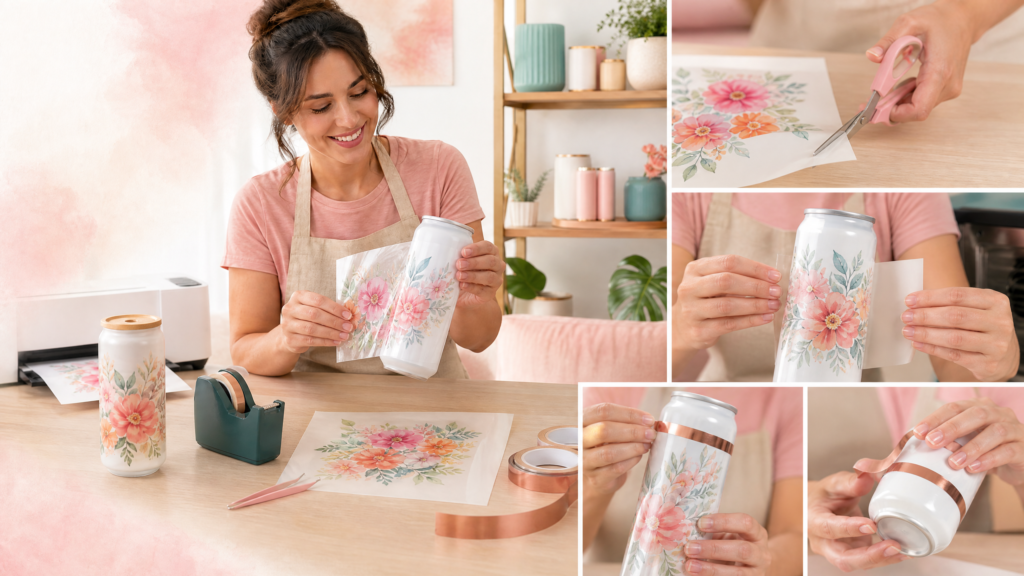
Many glass-can blanks do not require a shrink-wrap sleeve when the transfer can be taped tightly and evenly around the surface. However, the correct method depends on the blank and the supplier’s directions. Do not assume that a method designed for one product will work for another.
For comparisons, review SublimationCo’s related resources for 20oz tumbler sublimation and other SublimationCo tutorials, when available for your product range. Different shapes may require different wrapping and pressing strategies.
Step 5: Preheat and Calibrate the Convection Oven
Place the rack in the position recommended by the oven or blank manufacturer. Preheat the dedicated oven fully before loading the glass can. Do not rely only on the dial. Use a separate oven thermometer during initial testing so you know whether the internal temperature is reasonably close to the displayed setting.
A convection oven circulates hot air, but circulation does not guarantee identical heat at every point. Avoid crowding the rack, blocking the fan, or allowing the blank to touch the heating elements or oven walls. Leave enough room for air to move around the item.
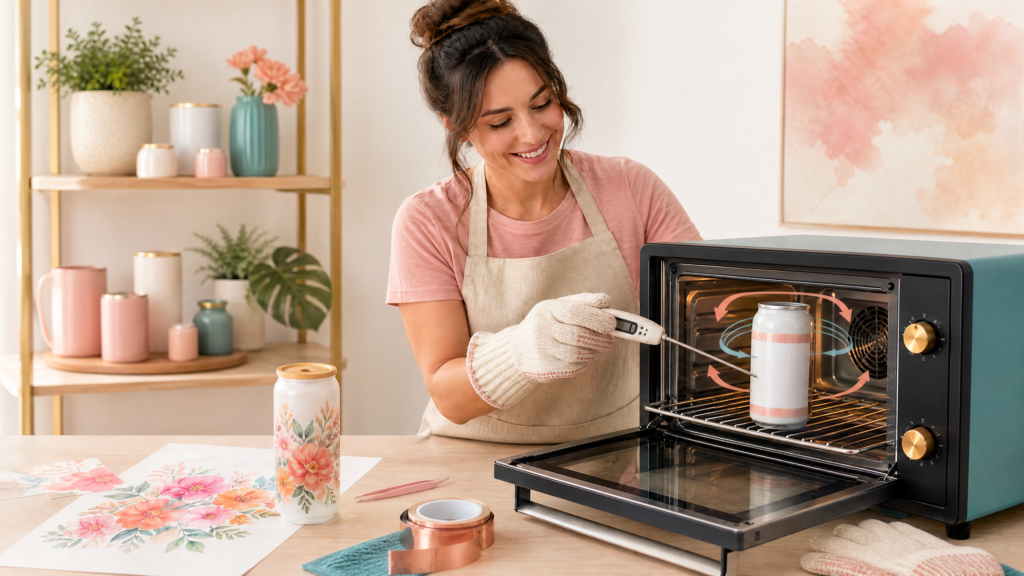
HeatPressNation recommends a dedicated oven that can reach approximately 400°F and suggests testing temperatures from roughly 350°F to 400°F to understand how a specific oven behaves . Treat that as equipment-testing guidance rather than a replacement for the blank manufacturer’s recipe.
Step 6: Bake the Glass Soda Can
Once the oven is stable, place the wrapped glass can on the rack. Start the timer only after the item is inside and the door is closed. For the common starting point discussed in this guide, test approximately 375°F for 8 minutes.
Do not open the door repeatedly during the cycle. Every opening releases heat and makes the actual exposure less predictable. If you are testing several recipes, keep notes about the displayed temperature, thermometer reading, time, blank style, paper brand, ink, and visual result.
When the cycle ends, remove the blank with heat-resistant gloves. Place it on a heat-safe surface and allow it to cool according to the supplier’s instructions. Do not run cold water over hot glass, and do not handle it with bare hands while it is still hot.
Should You Rotate the Glass Can?
Usually, a convection oven is designed to circulate heated air around the item, so rotating the can may not be necessary. However, oven performance varies. If the blank supplier specifically recommends rotating, follow that instruction. Otherwise, test one blank in a fixed position and evaluate whether the transfer is even from one side to the other.
Rotating a hot item introduces handling risk and may disturb the transfer. If the result is uneven, first inspect the oven for hot spots, verify the temperature with a thermometer, and check that the paper is tightly secured before adding extra handling steps.
Can You Sublimate More Than One Glass Can at Once?
You may be able to process two or more glass cans in one cycle if the oven has enough capacity and airflow. Do not crowd the rack. The items should not touch each other, the walls, or the heating elements.
A larger load can change how quickly the oven returns to its target temperature. For that reason, adding one or two extra minutes may be a reasonable test adjustment, but it should never be treated as an automatic rule. Compare a single-item test with a multi-item test and inspect all sides of each result.
For production work, consistency is more valuable than maximum capacity. A slightly slower process that produces repeatable color is usually better than a crowded oven that creates rework and wasted blanks.
Why a Dedicated Sublimation Oven Is Safer
Do not use the same oven for sublimation and food preparation. HeatPressNation specifically recommends avoiding a regular cooking oven because the long-term effects of sublimation transfers in a food oven are unknown . A dedicated craft oven also makes it easier to keep paper, tape, ink residue, and other non-food materials away from your kitchen.
Set up the oven in a stable, ventilated area with clearance around the appliance. Keep children and pets away from hot equipment. Use heat-resistant gloves, avoid loose clothing near hot surfaces, and let the glass cool in a location where it will not be knocked over.
Follow the safety documentation for your oven and blank. If the instructions conflict with a generic online recipe, the product-specific instructions should take priority.
Troubleshooting Common Glass Can Sublimation Problems
Most failed transfers are not random. The appearance of the mistake can point you toward the variable that needs attention.
| Problem | Likely causes | What to test next |
| Faded or pale colors | Insufficient heat, insufficient time, weak coating, incorrect paper side, or moisture | Verify the blank is sublimation-ready, confirm the transfer orientation, check the oven temperature, and test a small time increase |
| Brown or scorched marks | Excessive heat, excessive time, contact with a heating element, or residue | Reduce the setting only within the blank manufacturer’s guidance, inspect rack placement, and clean the dedicated oven as directed |
| Blurry or doubled edges | Transfer shifted during heating | Add secure heat tape, smooth the paper, and avoid moving the item while hot |
| Uneven color around the can | Hot spot, poor airflow, wrinkles, or inconsistent coating | Test the oven with thermometers, improve spacing, and inspect the blank before wrapping |
| White or blank patches | Air gap, wrinkle, damaged coating, or insufficient contact | Rewrap carefully and use a replacement blank if the coating is defective |
| Design looks dull after cooling | Wrong blank, incorrect transfer settings, moisture, or under-processing | Confirm the substrate, dry the transfer, and test one variable at a time |
Do not change temperature, time, paper, ink, and wrapping method all at once. If you do, you will not know which change solved or caused the problem. A simple press journal can save money by turning each test into useful production data.
How to Build a Repeatable Test Process
Before opening your shop to custom orders, create a small test matrix. Use the same blank style and design while changing only one variable per test. For example, you might compare 7 minutes, 8 minutes, and 9 minutes at the same verified oven temperature. Photograph the results in the same lighting and record observations immediately after cooling.
Your notes should include the blank supplier, product shape, coating type if known, paper, ink, printer profile, oven temperature setting, thermometer reading, time, rack position, wrapping method, and final result. Record whether colors were bright, whether the seam was visible, and whether the top and bottom edges were even.
This process is especially important when moving from one brand of blank to another. Two products that appear identical online can have different coatings and different recommended settings.
Care Instructions for Finished Glass Soda Cans
A finished sublimated glass can should be handled according to the blank manufacturer’s care instructions. In product listings and customer notes, avoid promising dishwasher safety unless the specific blank has been tested and rated for it. A safer approach is to recommend gentle hand washing when the manufacturer does not provide a clear care rating.
Let customers know that the printed design is durable because it is transferred into the compatible coating, but the glass itself can still chip or break. Avoid sudden temperature changes, abrasive scrubbers, and impacts around the rim and base.
For small-business sellers, include a simple care card with every order. Clear instructions reduce customer confusion and make the product feel more professional.
Design Ideas for Glass Soda Can Tumblers
Glass cans are ideal for designs that feel personal, seasonal, or giftable. Popular directions include floral monograms, birth-month flowers, teacher gifts, bridal-party sets, book-lover patterns, pet portraits, sports-inspired color palettes, and small-business branding.
For a cohesive collection, create three to five designs around one theme rather than listing unrelated artwork. SublimationCo’s free summer sublimation designs can provide seasonal inspiration for tropical, beach, and bright-color projects.
Use readable typography and strong contrast, particularly when adding names or short phrases. If a design is intended for a gift, leave enough visual space for personalization without crowding the pattern.
Frequently Asked Questions
What temperature do you use for glass-can sublimation?
A common starting point is around 375°F, but the correct temperature depends on the glass-can blank, coating, oven, and manufacturer’s instructions. Always test one blank before production.
How long do you sublimate a glass soda can in an oven?
Approximately 8 minutes is a useful starting point for many compatible glass cans, but it is not guaranteed. Follow the blank supplier’s recipe whenever one is provided, and adjust only after testing.
Do glass soda cans need shrink wrap?
Not always. Some blanks can be wrapped securely with sublimation paper and heat tape, especially around the tapered top and bottom. Other products may require a sleeve or a different transfer method. Follow the product instructions.
Can I use a kitchen oven?
It is not recommended. Use a separate oven dedicated to sublimation projects, and follow the oven manufacturer’s safety guidance. HeatPressNation advises against using a regular cooking oven for sublimation transfers .
Can I use an ordinary glass can from a store?
Only if it is explicitly designed or coated for sublimation. Ordinary untreated glass may not accept sublimation ink permanently.
Why did my design move during baking?
The transfer likely was not tight enough against the glass, or the blank was moved while hot. Smooth the transfer carefully, tape the seam and edges securely, and lift the item gently with heat-resistant gloves.
How can I find reliable heat and time settings?
Start with the blank manufacturer’s instructions, then verify your oven with a thermometer and test a sacrificial blank. You can also compare general principles in SublimationCo’s sublimation temperature chart while remembering that oven recipes are not identical to flat-press recipes.
Final Takeaway
The short answer is that many crafters begin testing at 375°F for approximately 8 minutes when sublimating a compatible glass soda can in a dedicated convection oven. The more useful answer is that your final recipe must be validated for your specific blank and equipment.
Choose a true sublimation-ready glass can, prepare a correctly sized mirrored transfer, secure the paper tightly, verify the oven’s real temperature, and test one piece before starting a batch. Keep detailed notes, change one variable at a time, and prioritize safe equipment over shortcuts.
With a careful process, glass soda cans become versatile products for gifts, events, seasonal collections, and small-business sales. Once you have your settings dialed in, the creative part becomes much more enjoyable: choosing the artwork, styling the finished drinkware, and building a collection customers will want to use every day.
Related SublimationCo Resources
•Epson Sublimation Printer Settings
•Sublimation Temperature Chart
•20oz Tumbler Sublimation Guide
•Free Summer Sublimation Designs
•Free 20oz Tumbler Wrap Designs
References
[1] HeatPressNation, “Essential Tips for Sublimation Drinkware Using an Oven”
[2] SublimationCo, “Sublimation for Beginners: Complete Step-by-Step Guide”
[3] SublimationCo, “Epson Sublimation Printer Settings: Complete Setup Guide”