Master sublimation for beginners with this ultimate guide! Discover 7 amazing steps to flawless prints, essential gear, and how to avoid costly mistakes. Start your creative journey today!
I bought the wrong blanks. I used a household iron. I put the sublimation paper upside down. You name it, I messed it up.
If you are looking into sublimation for beginners, you are probably drowning in Facebook group advice and sponsored YouTube videos telling you to buy a $600 printer setup. You don’t need to do that.
Sublimation is incredibly rewarding. It allows you to make permanent, professional-grade apparel and mugs that look like they came from a high-end retail store. But it is also unforgiving.
Let’s cut through the noise and demystify sublimation for beginners. Here is exactly what sublimation is, the gear you actually need to start your sublimation journey, and how to avoid making the expensive mistakes I made.
Understanding Sublimation for Beginners: The Science Behind the Magic
Most people say sublimation is just “printing on shirts.” They’re wrong.
Sublimation is a chemical process. When you apply high heat (usually around 385°F to 400°F) to special sublimation ink, that ink skips the liquid phase and turns directly into a gas.
Simultaneously, the heat opens up the pores of the material you are pressing onto (the substrate). The gas enters those pores. When it cools, the pores close, trapping the ink inside the material permanently.
You aren’t putting a layer on top of the shirt like you do with Heat Transfer Vinyl (HTV) or screen printing. You are dyeing the actual fibers of the shirt. That means it will never crack, peel, or fade. You can’t even feel it when you run your hand over it.
The Golden Rule of Sublimation for Beginners
Before you buy a single piece of equipment, you need to understand the golden rule: Sublimation ink only binds to polymers (plastics).
You cannot sublimate on a 100% cotton shirt. If you try, it might look okay when you peel the paper off, but the moment you put it in the washing machine, the ink will completely wash down the drain. Cotton has no polymers for the gas to bind to.
To sublimate apparel, you need garments that are at least 65% polyester (100% polyester yields the brightest, most vibrant results). To sublimate hard goods like mugs, tumblers, or keychains, they must have a special poly-coating applied at the factory. You can’t just buy a mug from the Dollar Tree and sublimate it.
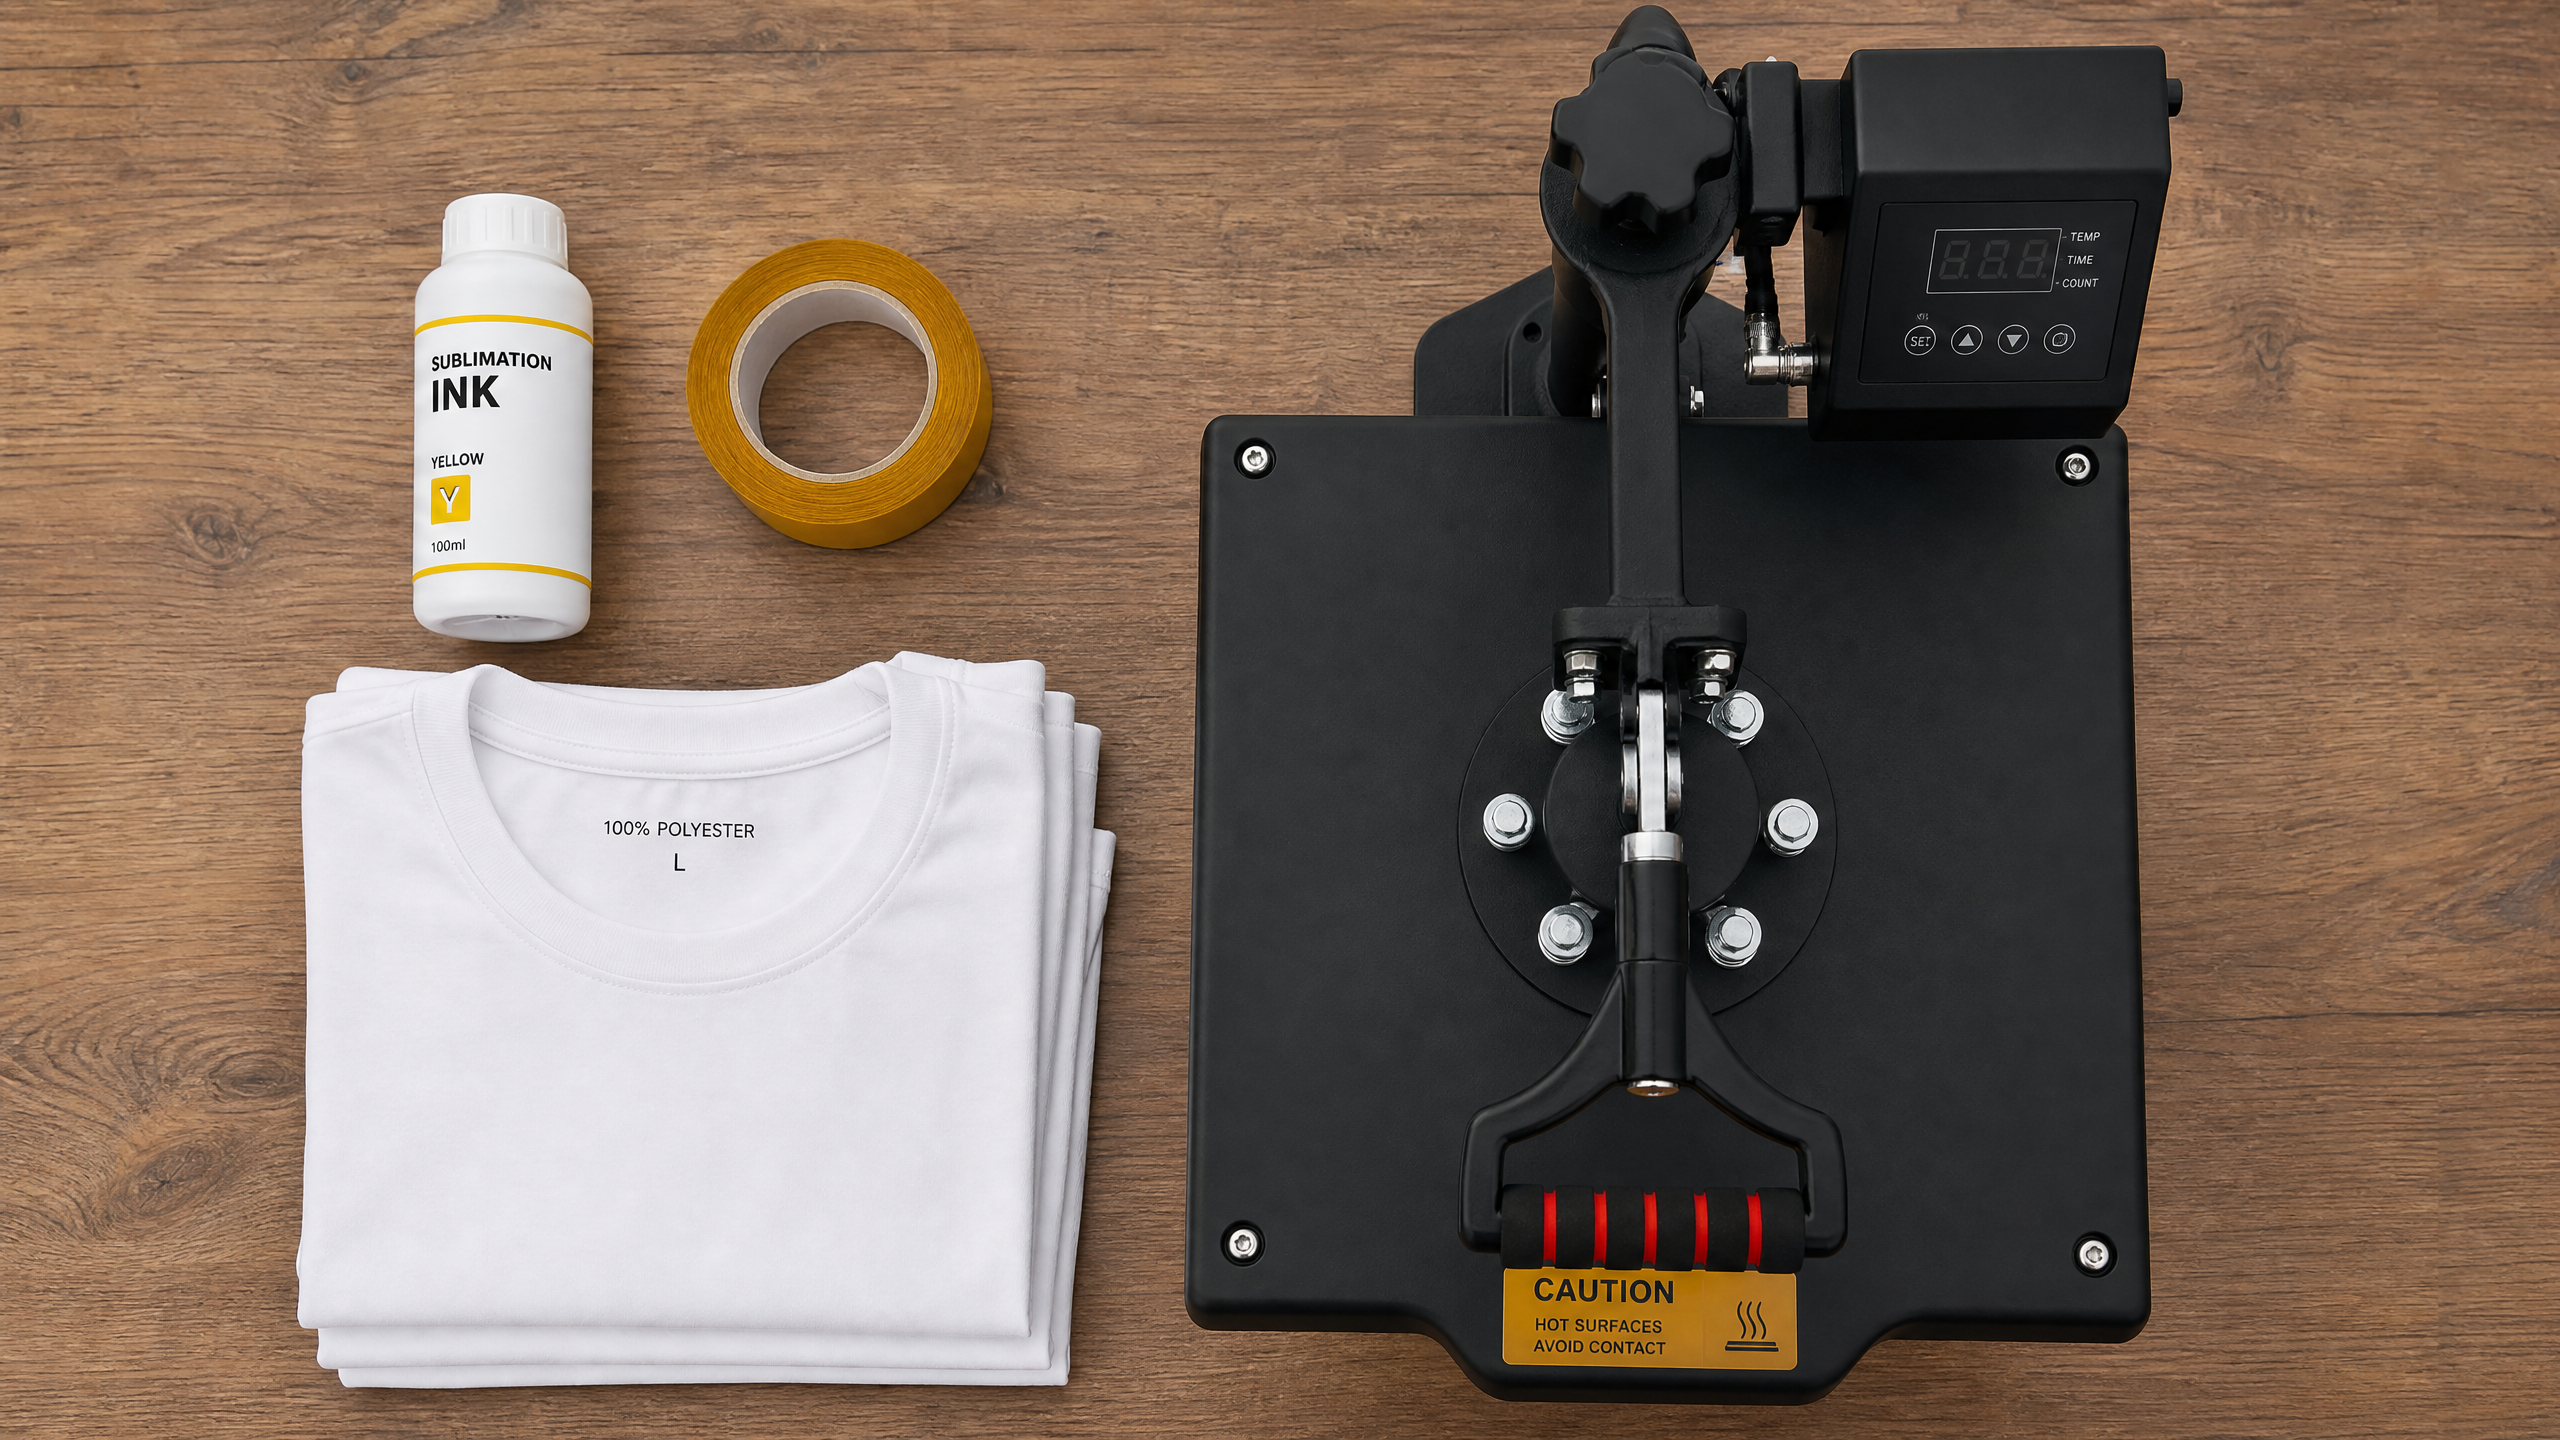
Essential Sublimation Gear for Beginners (No Fluff)
Here is the exact setup you need. No unnecessary gadgets.
1. Choosing Your Sublimation Printer: Epson EcoTank vs. Sawgrass for Beginners
This is the biggest debate in the crafting world.
You cannot use a standard HP or Canon printer for sublimation. They use thermal printheads that heat the ink to push it onto the paper. Because sublimation ink reacts to heat, a thermal printer will activate the ink inside the machine and ruin it. You need a printer with a Piezoelectric printhead (which uses pressure, not heat).
You have two main options:
•The Expensive/Easy Route (Sawgrass SG500 [2]): This is a dedicated sublimation printer. It works out of the box. It comes with design software. It is also around $600, and the replacement ink cartridges are outrageously expensive.
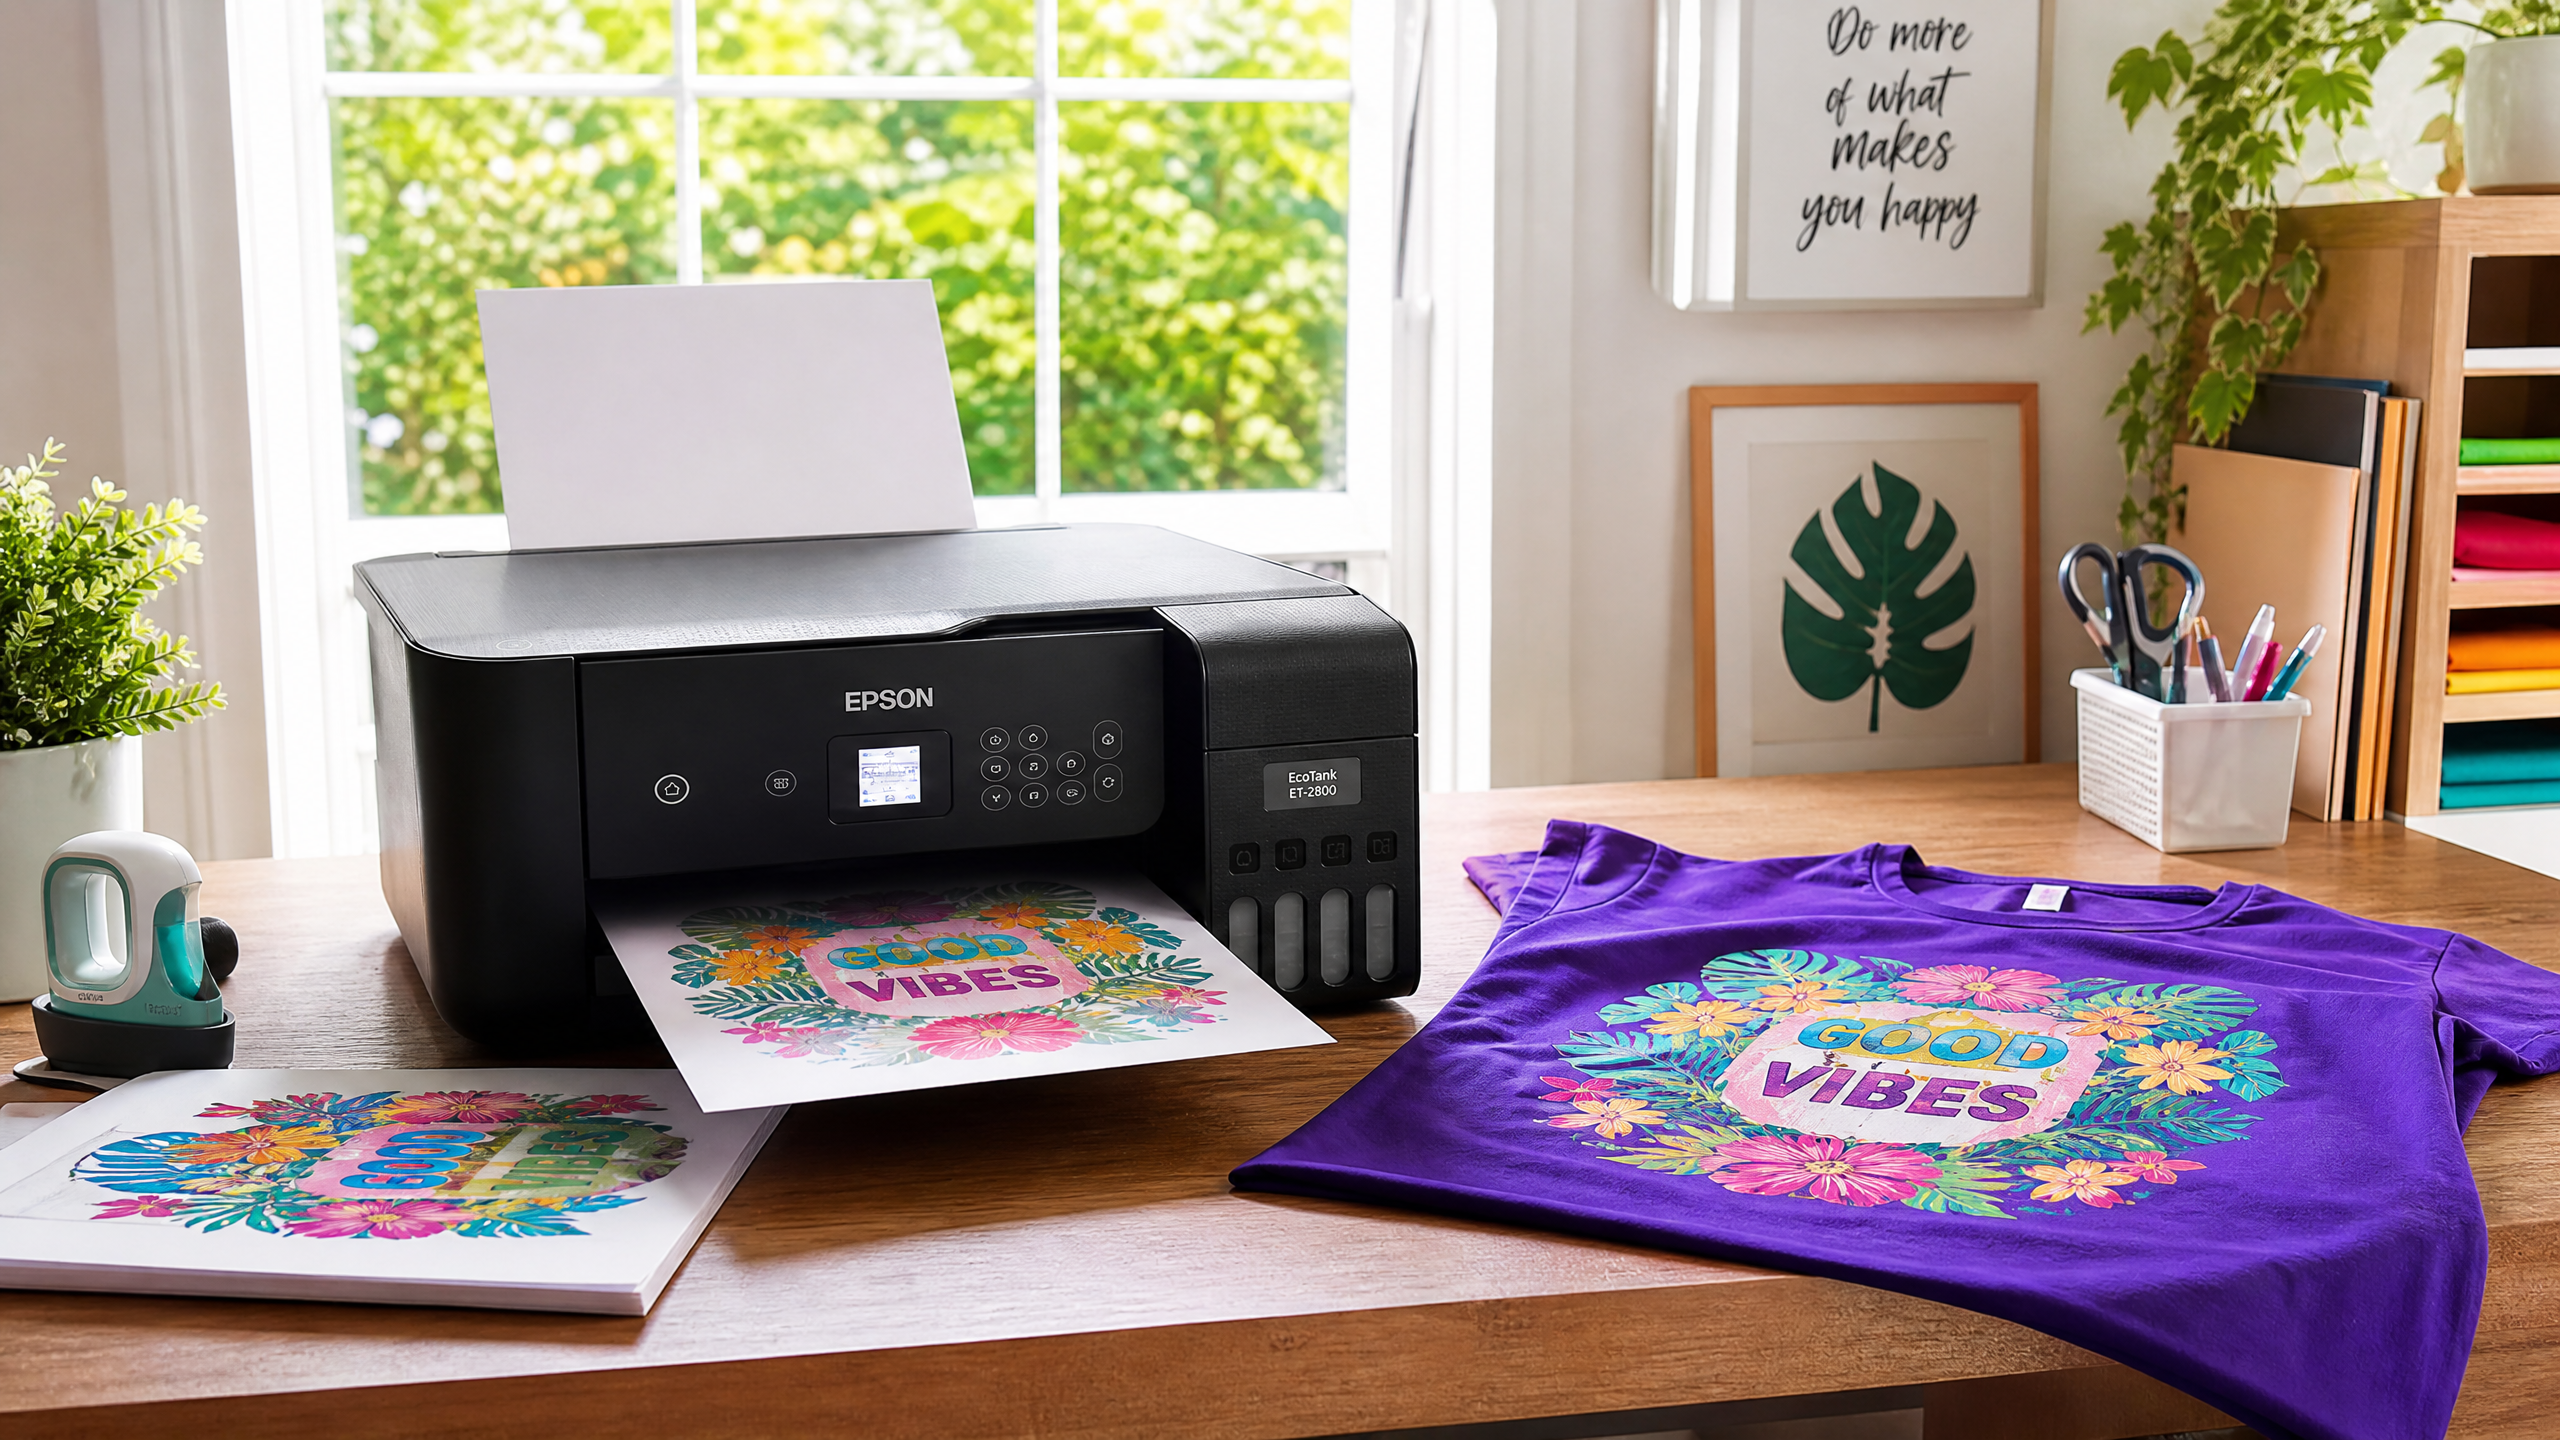
•The Crafter’s Secret (Epson EcoTank Conversion): You can buy a brand-new, standard Epson EcoTank printer (like the ET-2800 or ET-2803) [1] from Target for about $200. Instead of filling it with the regular Epson ink that comes in the box, you fill the tanks with third-party sublimation ink. Boom. You have a sublimation printer for a fraction of the cost.
My take? Get the Epson EcoTank. It saves you hundreds of dollars that you can spend on blanks and a better heat press. Just remember: once you put sublimation ink in an Epson, the warranty is void.
2. Essential Sublimation Ink & Paper for Beginners
Not all paper is created equal. The paper’s job is to hold the ink and then release as much of it as possible when heated.
Last fall, we ran a blind test on 40 identical 100% polyester shirts using three different sublimation papers. We pressed them all at 385°F for 60 seconds. A-Sub 125g paper [3] retained 18% more ink on the substrate than the cheaper Amazon alternatives, leaving the paper almost completely bare after pressing. That’s what you want.
For ink, if you are converting an EcoTank, I highly recommend Hiipoo Sublimation Ink [4]. It comes in auto-fill bottles that fit right into the Epson tanks without needing syringes.
3. The Right Heat Press for Sublimation Beginners
Do not use a household iron. Do not use a Cricut EasyPress if you can avoid it.
Sublimation requires heavy, even pressure and consistent, high heat. An EasyPress requires you to push down manually. If your hand shakes or shifts even a millimeter while the ink is in its gaseous state, your image will blur (this is called ghosting).
Invest in a clamshell or swing-away heat press. A cheap 15×15 press from Amazon [5] will do the trick for beginners.
4. Must-Have Sublimation Accessories for Beginners
•Heat Resistant Tape: To hold your design perfectly still on the blank.
•Unwaxed Butcher Paper: You will put this over and under your project to protect your heat press from stray ink gas. Never use Teflon sheets for sublimation; they trap moisture.
•Lint Roller: Crucial for apparel.
Your First Sublimation Press: A Step-by-Step Walkthrough for Beginners
Let’s press a 100% polyester white t-shirt.
1.Print Your Design: Make sure you MIRROR your image in your print settings. If you don’t, any text will be backwards on the shirt. Also, note that your print will look dull on the paper. This is normal! The colors activate under heat.
2.Prep the Shirt: Lint roll the shirt aggressively. Even tiny blue lint fibers will permanently dye into the shirt if pressed.
3.Pre-Press: Press the blank shirt for 10 seconds. Moisture acts like a barrier that vaporizes during pressing, causing faded spots. Pre-pressing removes the moisture and wrinkles.
4.Tape it Down: Place your printed design face down on the shirt. Use 3-4 pieces of heat tape to secure it.
5.The Sandwich: Put a piece of butcher paper inside the shirt (so ink doesn’t bleed to the back). Put the shirt on the press. Put another piece of butcher paper on top of the design.
6.Press: Press at 385°F for 60 seconds with medium-firm pressure.
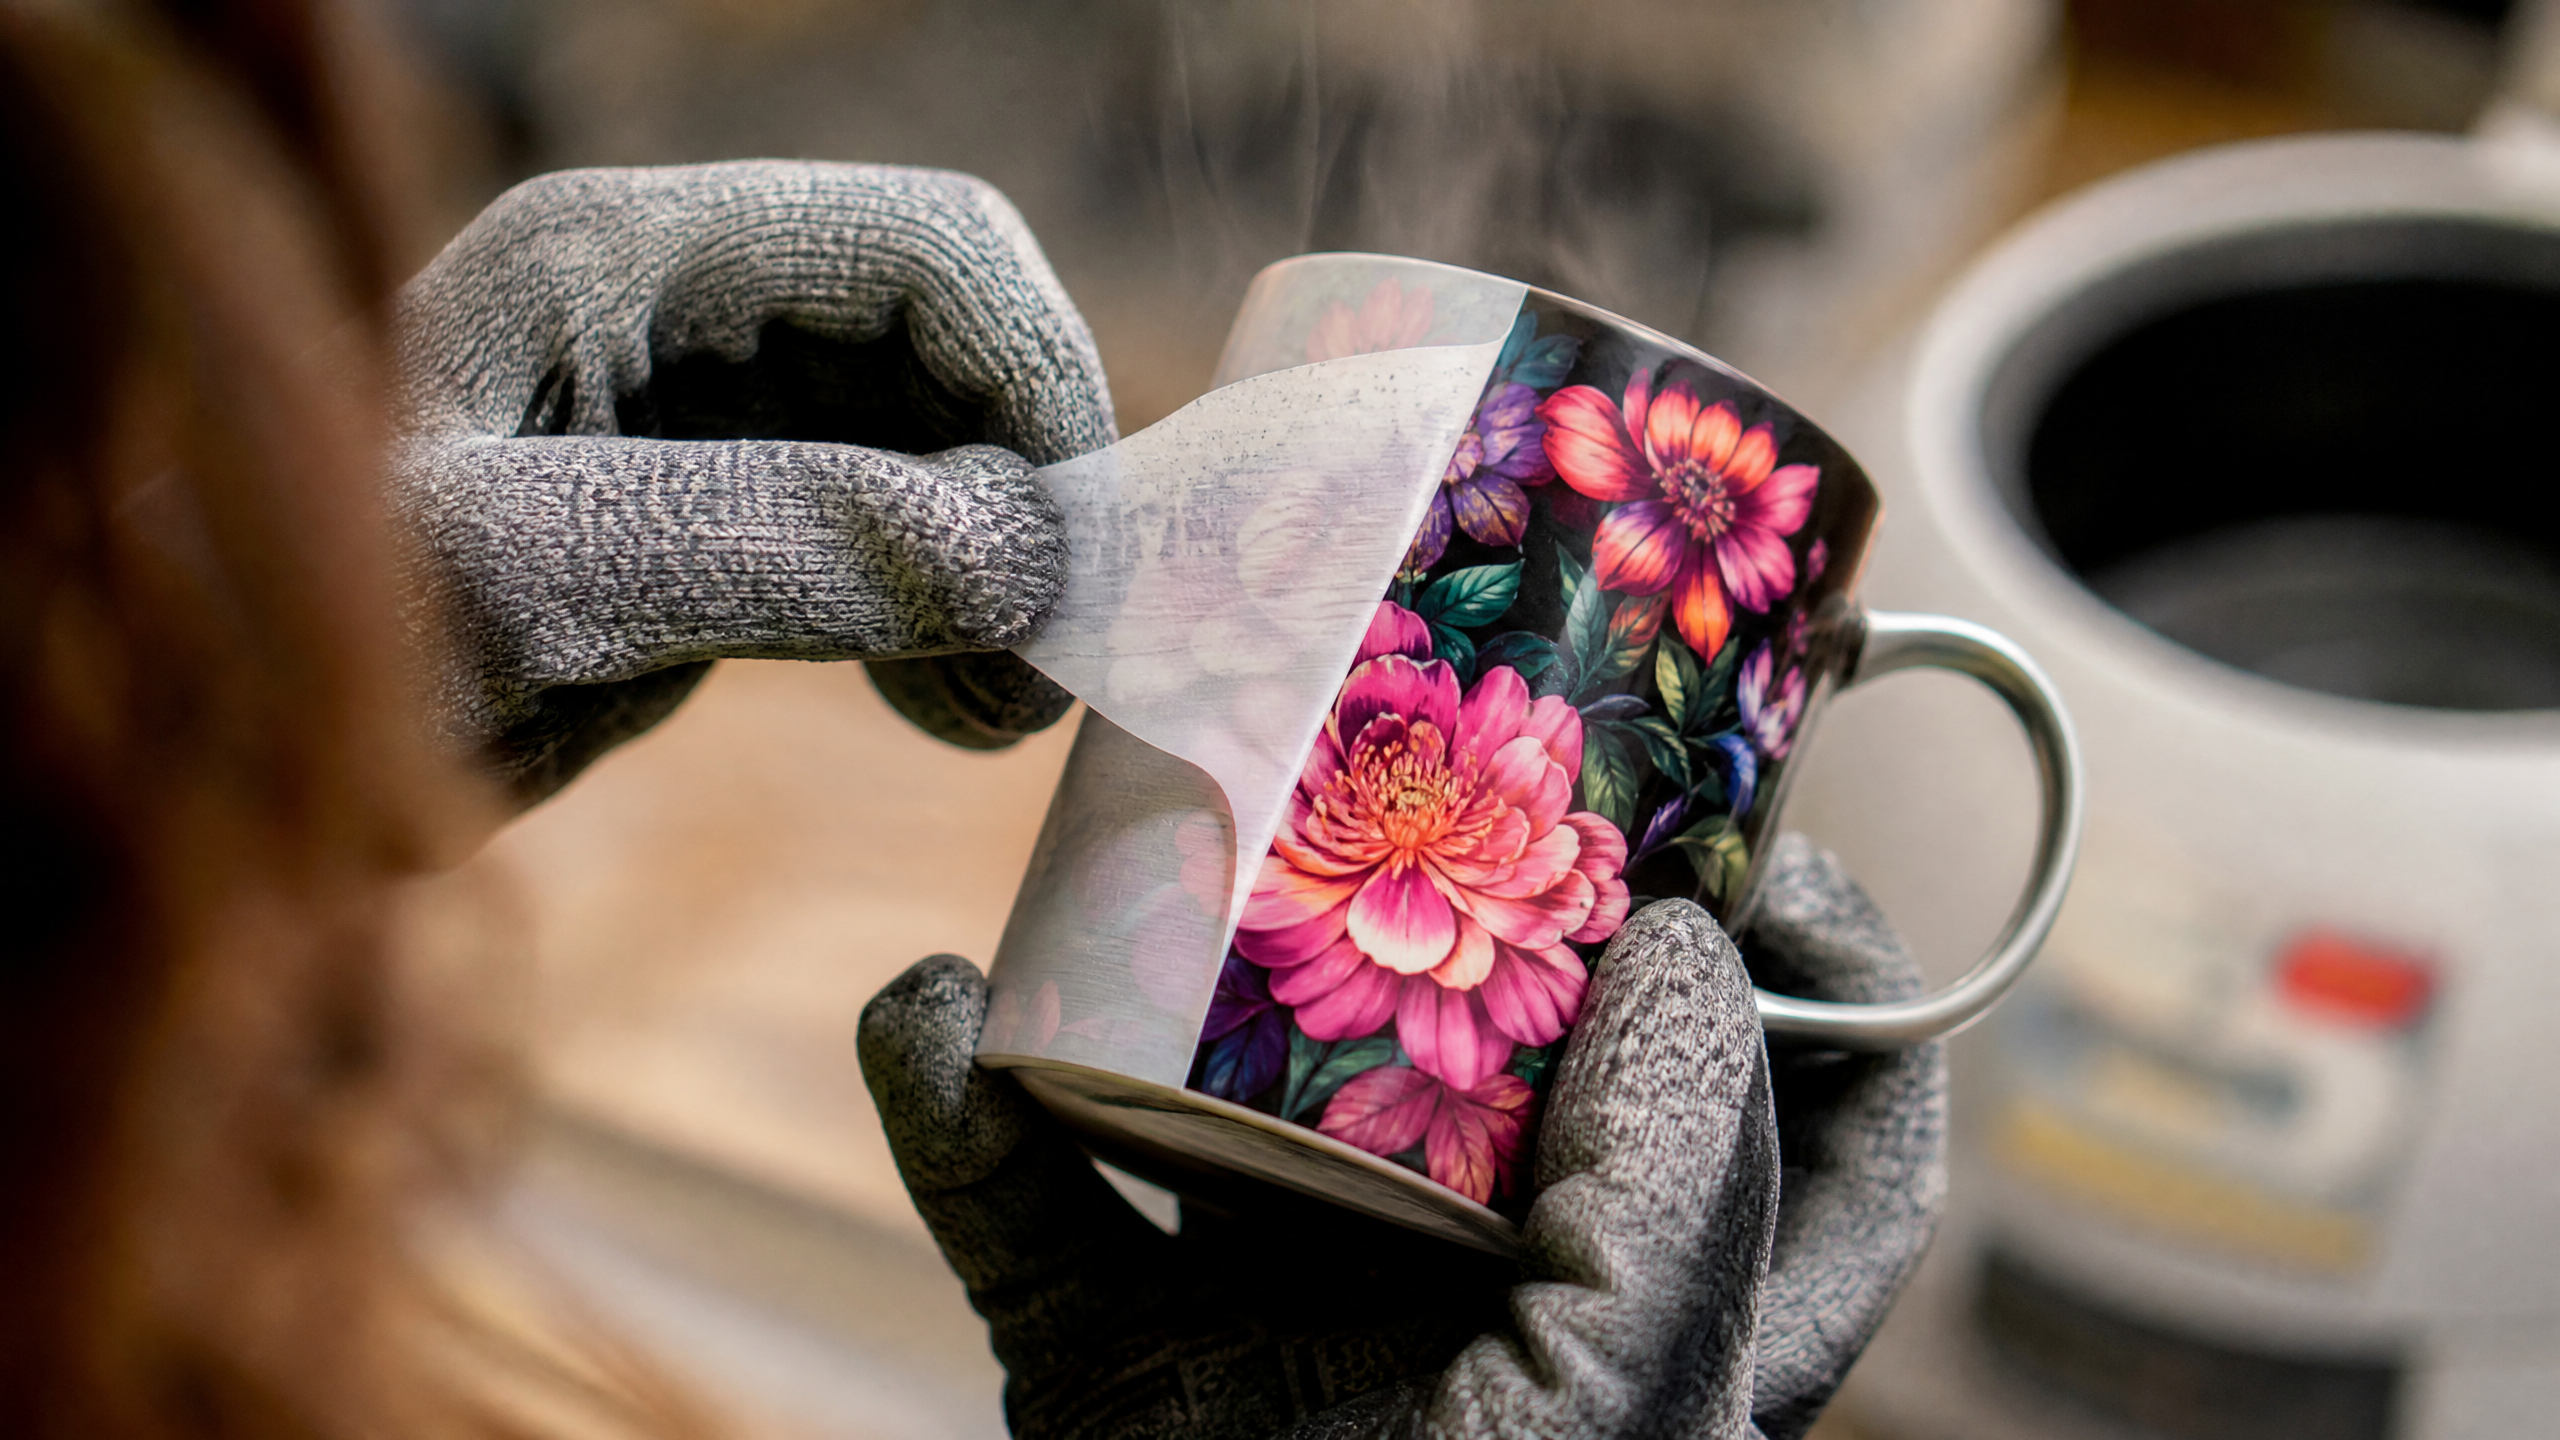
7.The Peel: Open the press slowly. Grab the paper and rip it off in one swift motion. Don’t let it drag across the shirt.
Top 3 Sublimation Mistakes for Beginners (And How to Fix Them)
1. Ghosting (Blurry Edges)
If your image looks like it has a drop shadow, the paper shifted while the ink was hot. Fix this by using more heat tape and opening your heat press significantly slower so the vacuum effect doesn’t suck the paper up.
2. Faded Prints
If your print looks washed out, you either didn’t use enough pressure, your temperature was too low, or you pressed on a shirt with too much cotton. Check your fabric tag.
3. Little Black Wheel Marks on Paper
Epson printers have little pizza-wheel rollers that guide the paper. Sometimes, wet sublimation ink gets on these wheels and tracks down the page. Fix this by going into your printer settings and unchecking “High Speed Printing.” Slowing the printer down gives the ink a fraction of a second longer to dry before hitting the rollers.
Wrapping Up Your Sublimation for Beginners Journey
Getting started with sublimation feels like learning a new language. But once you pull that paper back on your first successful press and see those vibrant colors permanently embedded in the fabric, you’ll be hooked.
Start with an EcoTank conversion, get some cheap polyester blanks to practice on, and accept that you are going to ruin a few things. It’s all part of the process.
Sublimation for Beginners: Quick Gear Guide
To start sublimation, you need five essential items:
1.A sublimation printer (either a dedicated Sawgrass printer or a converted Epson EcoTank.
2.Sublimation ink.
3.Sublimation paper (like A-Sub 125g).
4.A heat press (avoid household irons).
5.Polymer-coated blanks or light-colored apparel made of at least 65% polyester.
Frequently Asked Questions
What do I need to start sublimation as a beginner?
You need a sublimation printer (or converted Epson EcoTank), sublimation ink, sublimation paper, a heat press, and polyester-coated blanks. You can start for around $200–$300 total.
Can I use a regular printer for sublimation?
No. You need either a dedicated sublimation printer like the Sawgrass SG500, or a converted Epson EcoTank filled with sublimation ink. Regular ink will not transfer with heat.
What temperature do you sublimate at?
Most sublimation projects press at 385°F–400°F (196°C–204°C) for 45–60 seconds depending on the blank type.
Does sublimation work on cotton?
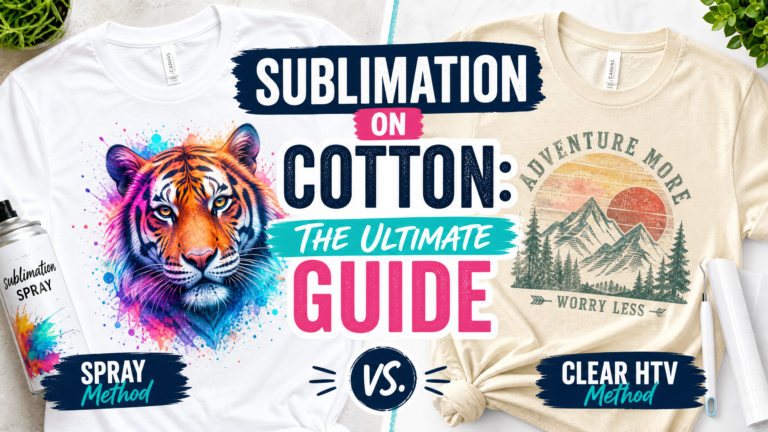
Sublimation only bonds permanently to polyester or polyester-coated surfaces. For cotton, you need a spray coating or clear HTV layer first — read our full guide on sublimation on cotton shirts.
Ready to start your first project?
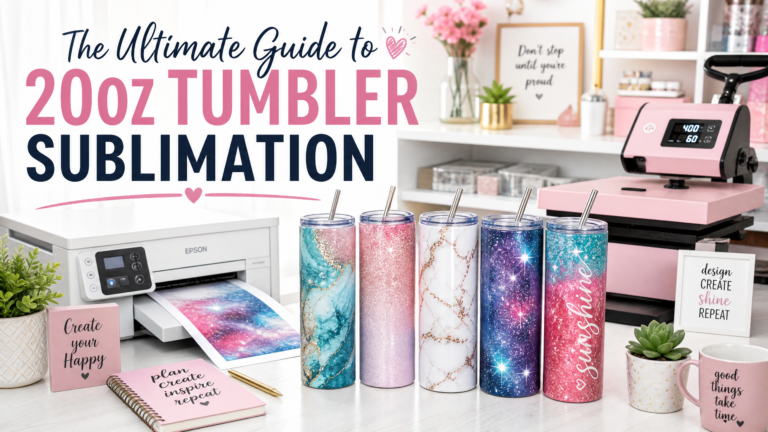
Browse our free sublimation designs— ready-to-press PNG files for tumblers, mugs, and apparel. Also read: How to sublimate on cotton? and our 20oz tumbler complete guide.